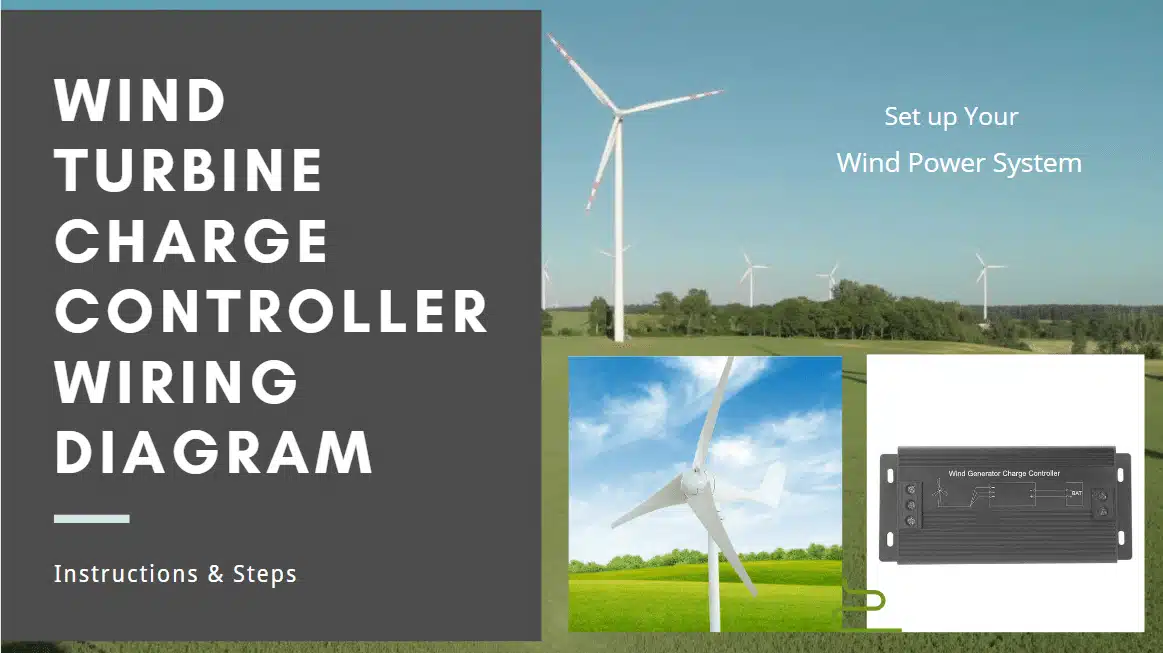
A Wind turbine charge controller is a really important commander to add to a wind power system, not only will it make your battery safer by protecting your battery cells from over and under charging, but it will also make the entire charging process much simpler.
here is the wind turbine charge controller wiring diagram and steps showing how to install the wind charge system.
If you have a wind turbine charge controller with a confusing or missing wiring diagram, you’ll have to find a better example, seek advice on experts for better hook up.
We can help you do this by describing the detail steps of mounting the wind charge controller, you will finally understand how to find, read, and install them.
We’ll also describe the different symbols and terminology used in wiring diagrams to describe wind turbines, anemograph, batteries, circuit breakers, and fuses, and so on.
To wrap up, we’ll also give a brief step-by-step tutorial on designing your own wiring diagram for a wind power system.
Before Wiring the wind turbine charge controller:
Make sure that the output voltage of the wind turbine, the voltage of the battery and the input voltage of the inverter are equal, and do not connect the wrong positive and negative poles when wiring.
Wrong connection may cause the wind turbine, battery or inverter to burn up.
Battery bank Configurations
There are two ways to get your battery pack configuration to match the wind turbine and the voltage system you want, connecting your battery cells in parallel and in series.
Connect the batteries in parallel or in series according to the required capacity and voltage, and coat all terminal parts with grease or other anti-corrosion materials.
To avoid electromagnetic interference, the connection wire between the battery and the controller should be shorter than 3 meters.
The capacity and voltage of the batteries adapted to the wind turbine can be found in the manual and on the label.
Wind Turbine Charge Controller Wiring Diagram & Steps
Follow the installation steps to complete the setup of the wind turbine system step by step.
Installing the Dump Load (if have) to your Wind Charge Controller
Some wind controllers will have a dump load, which needs to be connected in the correct way, the positive terminal on the dump load is connected to the positive terminal on the controller, and the negative terminal is connected to the negative terminal.
Installing the wind turbine charge controller to your battery.
the first step is to install your wind charge controller to your battery. make sure the poles is right connected, the right way is the red cable to positive, black cable to negative posts on the battery.
You need a quality cable installed in the system, This cable will carry the full power of your battery during charge and discharge.

Installing the Wind turbine Charge controller to the wind turbine.
Now you’ll take the step to hooked the charge controller to the wind turbine, same to the battery, you will see the symbols on the controller end to connect.
Connect the three output wires of the wind generator to the corresponding terminals on the controller.
It is recommended to connect the wind turbine in no wind or breeze condition. High-speed rotating wind turbines must be connected only after the controller is on.

Adding Solar Panel to the Wind turbine system
Latest wind and solar charge controller now supports the integration of wind systems with solar systems to obtain more energy from nature.
to realize that you will need a qualified hybrid wind solar charge controller to regulate the charge from both wind and solar.

Connecting Solar Panel to Wind solar Charge Controller
If it’s a hybrid wind solar system, this step is connect the wind panel to the charge controller, as installing the battery, the poles must connect correctly, red to positive and black to negative.

Understanding Wiring Diagrams for a Wind turbine charge controller – Common Symbols and Terminology
You’ll often encounter commonly used symbols and terminology in wind turbine charge controller wiring diagrams
Dump Load
The Dump unloader is add to prevent the battery from being overcharged, and the excess electricity is unloaded through the dump load, while the wind turbine stops working,the matching unloader can continue to rotate and work.
